Fabrik How to Upload a Logo to Your Navigation
This video features an erstwhile UI. Updated version coming soon!
In this lesson:
- Add a Navbar
- Style a Navbar
- Empathize the bill of fare push button in a Navbar
- Reuse a Navbar on multiple pages
- Stick the Navbar to the height of a page
- Add a dropdown to the Navbar
Add a Navbar

To add a Navbar, scroll to the Components section of the Add panel and drag a Navbar element into your project.
You can place the Navbar anywhere in your project — there's no correct or wrong mode to do this. Since the Navbar is cocky-contained, yous tin can move where and whenever you similar. For our case, we'll place it at the top, direct inside our body element.

Our navbar holds a group of elements all placed neatly within a container that keeps content centered on the page.
- Brand: The brand placeholder is a Link Cake located to the left of the navbar. Hither you can add a logo or text or any other brand indication.
- Nav card: To the right is the nav menu. It contains all the navigation (nav) links.
- Nav links: These are text links with predefined padding and other styles. They're usually linked to dissimilar pages or sections on your website.
- Menu button: Past default, the bill of fare push is hidden on desktop view. It allows y'all to access the nav menu and nav links when horizontal space is limited, like on a mobile device. Learn more near the Menu Button.
Configuring the brand logo
Let'southward add together a logo to our navbar.
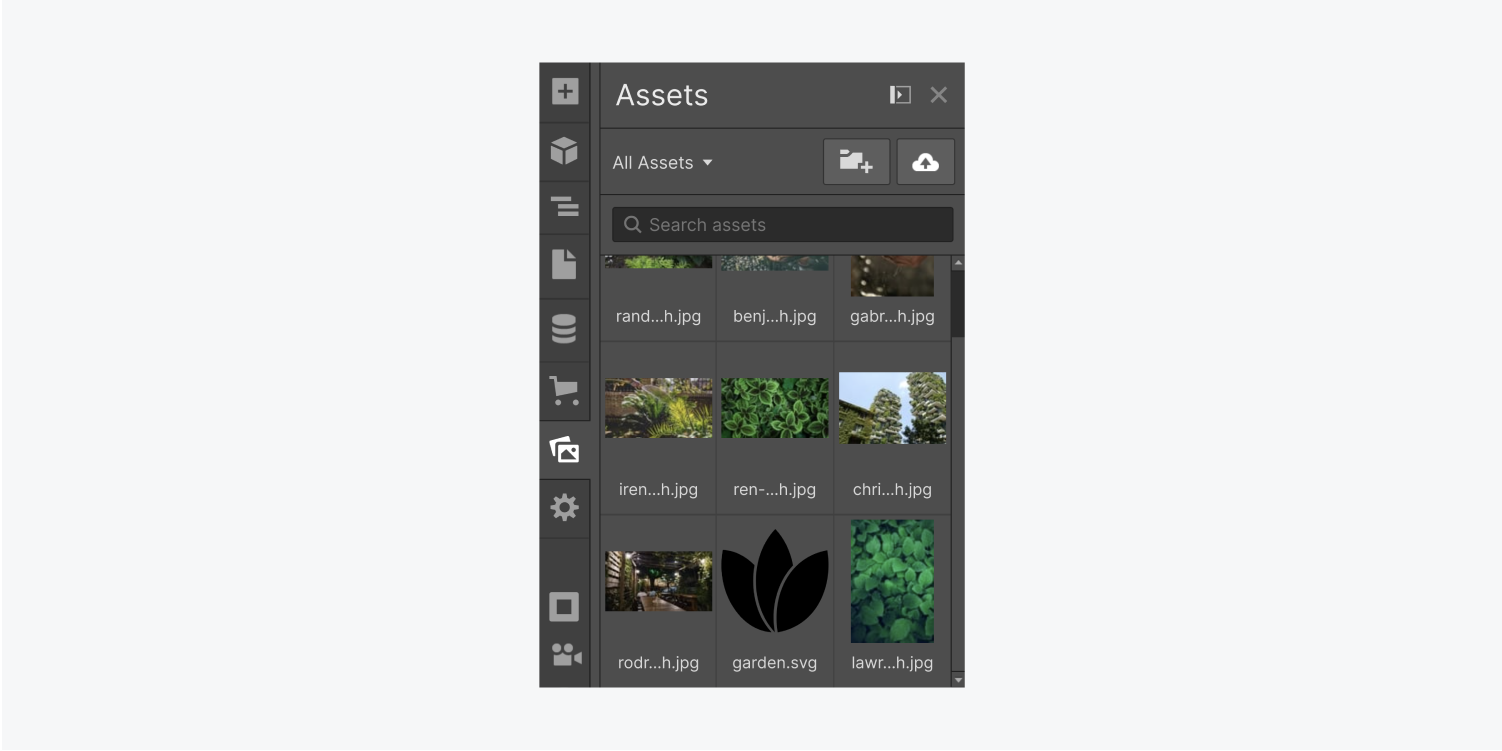
Head to the Assets panel in the left panel of the Designer where you lot tin upload and manage avails. Click Upload in the upper right corner and cull the file(s) yous'd like to upload. We'll drag our logo prototype into the Make link.
Linking the make logo to the homepage
It's standard practice for a brand image or logo to link back to the homepage. To practise this:
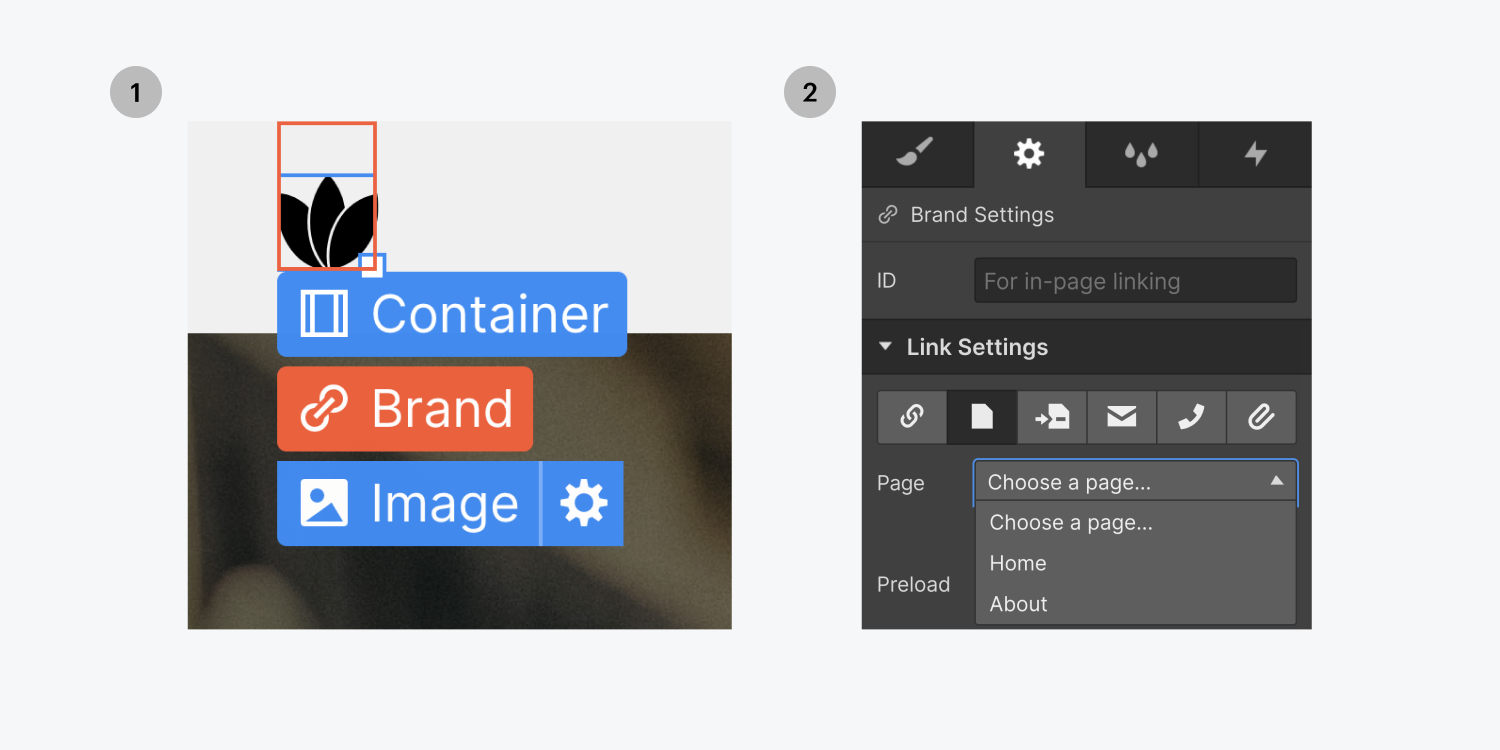
- Select the Brand link cake
- Go to Element settings (Shortcut: D)
- Nether Link settings choose Page
- Select Dwelling house from the dropdown
Adding Nav links
The second component of the navbar is the nav menu. This component holds our nav links. By default, the navbar comes with a few nav link placeholders y'all tin can edit, delete, or add.
To add more than Nav links:
- Select any element in the Navbar
- Become to the Element settings (Shortcut:D)
- Nether Navbar settings, click Add link

Some other way to add nav links is to copy and paste a nav link that already has a class applied to it. This is a great time saver if you plan on styling multiple nav links. To practise this:
- Delete all but one nav link
- Give the nav link a form
- Copy and paste the nav link as many times as you demand
When you duplicate this nav link, the class is already applied to each new one yous paste. At present, y'all can double-click the nav link to edit the text within.

Linking Nav links
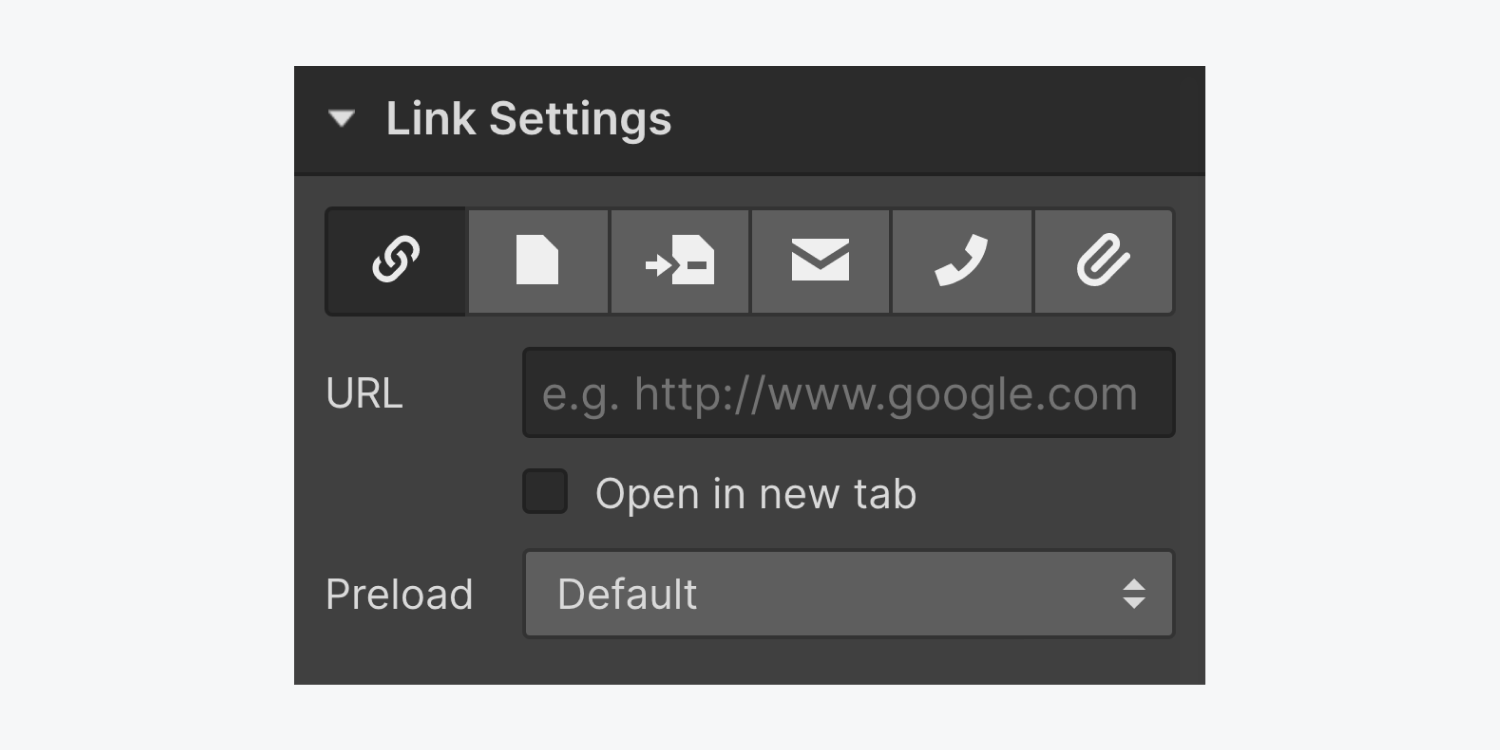
To link each nav link to a different source:
- Select the Nav link
- Go to the Element settings (Shortcut: D)
- Under Link settings, select the link type
Style a navbar
The Navbar element is very flexible when it comes to styling.
In this section, we'll focus on 5 areas that requite us that command:
- Size of the navbar
- Positioning of the navbar
- Nav link states
- Navbar and nav link backgrounds
- Nav link transitions
Size of the navbar
The Navbar element has no preset values for width or meridian.
Navbar width
When the navbar is dropped inside of the body, section, or another element it will take up the total width of that element. You can constrict the Navbar horizontally past setting a width or by constricting the width of the parent element. .
Navbar top
The height of the navbar is determined by the content inside. Specifically that means the tiptop of the brand logo, or the elevation of the nav links. You can adjust the height of the navbar in a number of ways:
- Adding a acme value to the navbar
- Calculation meridian and bottom padding to the navbar itself
- Calculation top and bottom padding to the content inside the navbar
You tin add padding to the nav links past selecting a nav link and adjusting the elevation and bottom padding. The size of the nav link and the navbar adjusts accordingly. Y'all can also add together margin to achieve a like upshot.
A more compatible approach might be to select the navbar and adjust its padding. Increasing the padding adds more pinnacle because information technology creates extra space between the navbar and the container that holds all the Navbar elements.
Pro-tip: Hold Pick/Alt key while dragging the padding push button to increment the padding on the opposite side.
Nav carte superlative
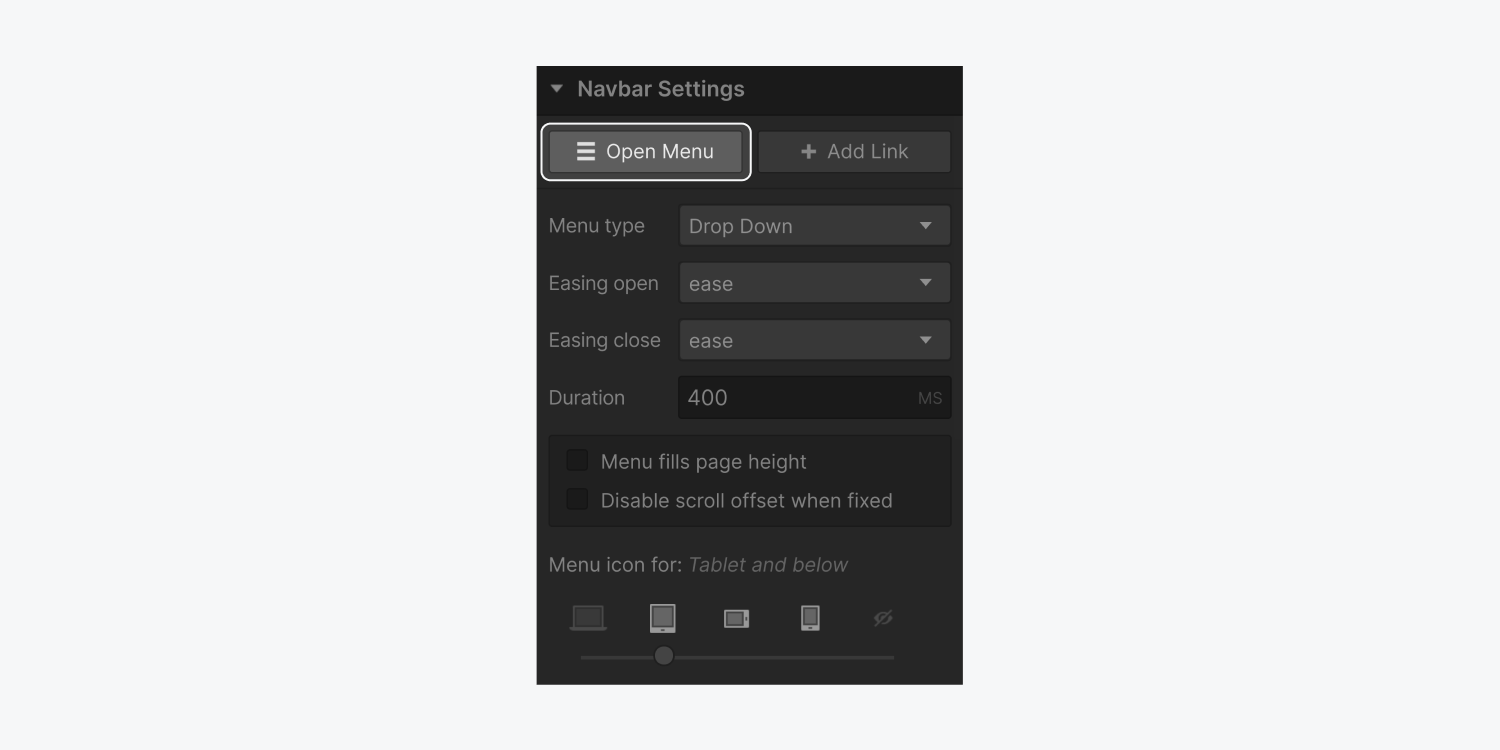
You tin can also make similar changes to the nav menu which appears on devices that accept the Mobile icon set to visible. You can open the nav carte to access it by selecting the navbar and clicking Open Menu under the Settings panel.
Adjusting the height of nav links on touch devices is really helpful to make certain that the size of your tap targets is big enough for finger taps. Larn more well-nigh the Nav Bill of fare Button
Fashion the nav link
This is where classes aid out a lot. Classes relieve styling information you can employ to as many elements every bit you want throughout your project. The moment you begin styling an element, a class is automatically created and applied to the selected chemical element. All styling adjustments fabricated to this chemical element are saved in this class. You can besides create a course manually, before adding styles, past typing in a class proper name in the selector.
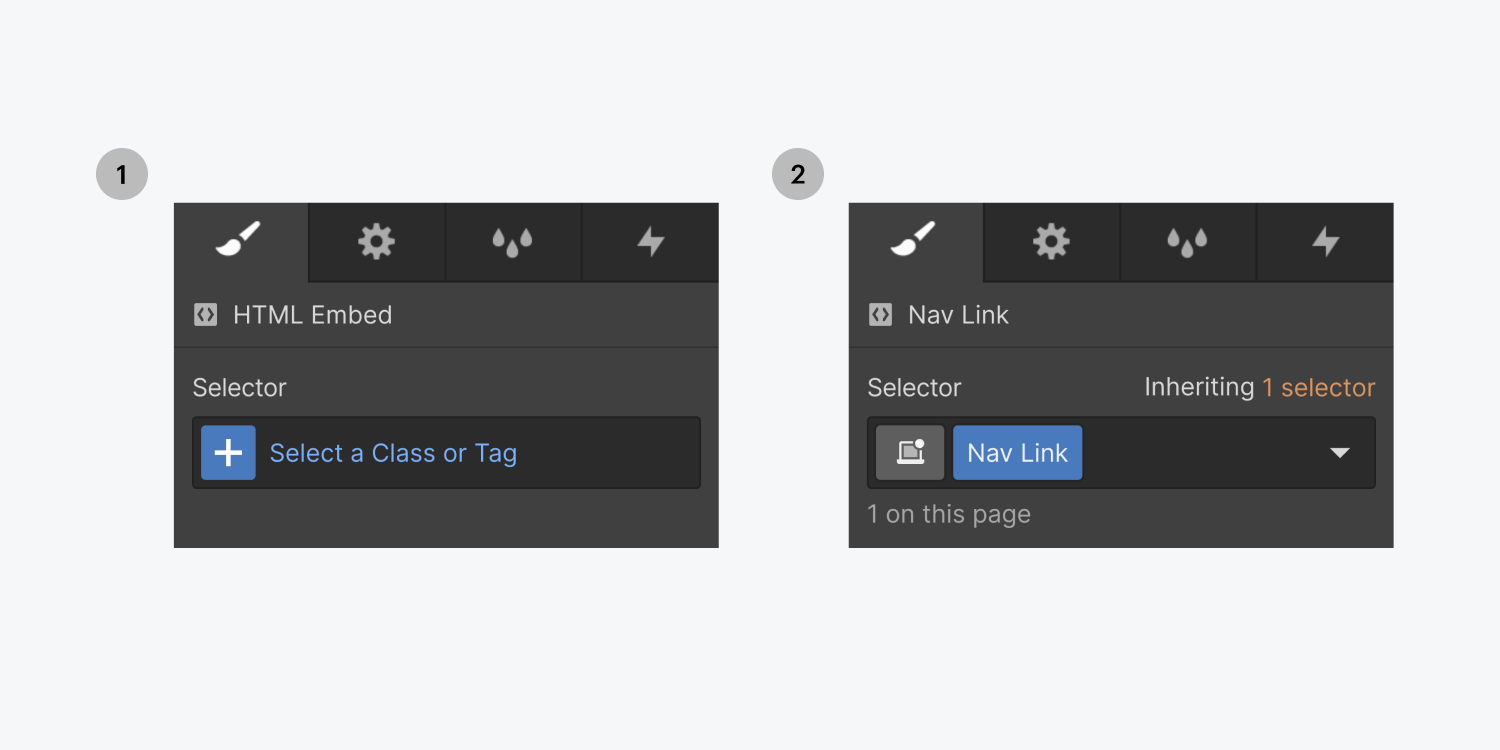
You tin can access the selector either by:
- Clicking into the selector field in the Mode panel
- Hit CMD + Enter (on Mac) or CTRL + Enter (on Windows)
- Right-clicking the element and clicking Add class in the context bill of fare
Now, we can use the same course to each of the nav links so changes to that grade bear upon all the links in the navbar at once.
You can likewise manner nav nink backgrounds in their default and hover state. For the hover state, activate the hover state and set a background. This groundwork volition be visible when a user hovers over the nav link.
Nav link states
Ane of the simplest means to visually indicate that the mouse is hovering on a link is a color modify on hover. Select the Hover state from the States menu and choose a unlike font colour. Acquire more than on how to manner the various states of a link including the Current auto-country.
Use the same form to each of the nav links and then changes to that class touch all the links in the Navbar at once.
Sympathise the menu button in a navbar
The menu button is an element inside the navbar that organizes the nav links when at that place is express horizontal space, similar on a mobile device. It's sometimes called a hamburger menu. The carte du jour button and its functionality are built into the navbar element and can be accessed and configured in a number of ways.
By default, the nav menu button appears on Tablet breakpoint and below. You tin go to preview style and meet the menu appear in your navbar when you switch to these devices. Clicking that carte du jour push button will expand the nav carte du jour. Clicking the button once again collapses the nav menu.
On the Desktop breakpoint, you can see the nav links are nested inside the nav menu chemical element. This nav menu is the same chemical element that displays when the carte button is clicked — it displays the nav links in a vertical list.
Trigger the menu in the Designer
Yous tin can open the nav menu in the Designer with the following steps:
- Select the Navbar or whatever element within it
- Go to the Element settings and click Open carte du jour
- The Designer will automatically switch to the Tablet breakpoint open the menu
Customize push visibility for unlike breakpoints
The Navbar menu button initially appears in the Tablet breakpoint, but y'all can change this to make the push visible on all or no breakpoints:
- Select the Navbar or whatsoever element inside
- Become to the Chemical element settings
- Use the device options slider to select where the menu button first appears

Reuse a navbar on multiple pages
Reusing your navbar on multiple pages tin be handy when using a gluey navbar throughout your project. To make this easy, we'll create a symbol of our navbar.
To create our navbar symbol:
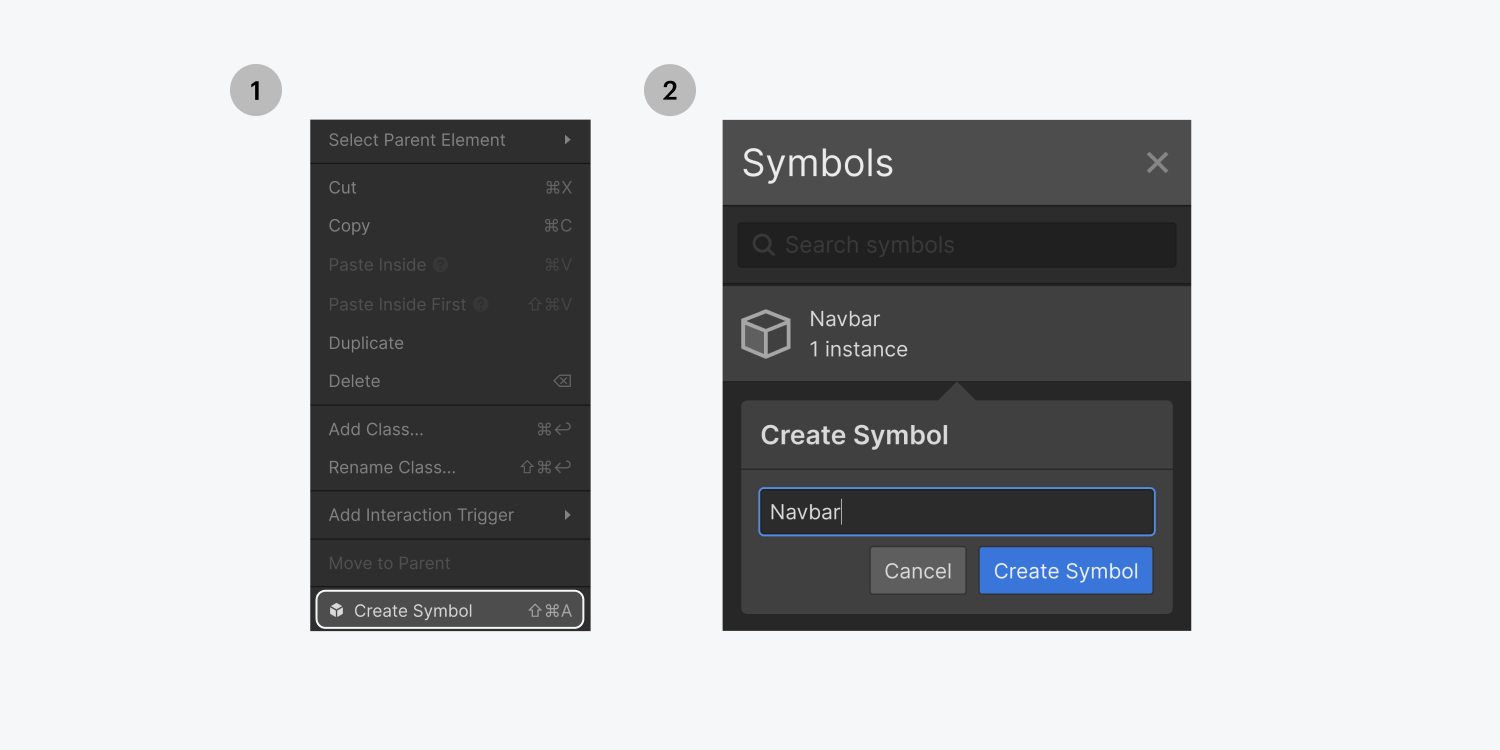
- Select the Navbar in the Navigator
- Right-click the label of the navbar and select Create symbol
- Give the symbol a proper noun and click Create symbol
One time yous've created a symbol, the main way of the symbol volition open. All changes in the main way will pour across all instances of that symbol. Yous tin can enter chief manner past double-clicking. See Editing the main symbol.
Now nosotros can reuse the aforementioned navbar element anywhere in our projection.
Offset, open the symbol panel, and then click and drag the navbar symbol to whatever folio in your project. But like any element, yous can drop the symbol straight on the canvas or in the Navigator for more precision.
When you select an instance of a symbol, y'all'll see it highlighted and outlined in green. Click the Style panel to see how many instances of that symbol are in your project.

Stick the navbar to the top of a page
First, we want to make certain the navbar is a direct child of the body element. Why? Considering nosotros want it to stay on acme when scrolling. The sticky position keeps the navbar in place until you roll by information technology. But in this case, the navbar sticks to the top of the folio while the remaining content scrolls away. And when you ringlet back to the top of the page, the navbar volition reposition itself.
Stick the navbar to the acme of the page
Select the navbar and head to the Way console. Set up the position to mucilaginous and ready a top value of 0 to proceed the navbar stock-still to the top on scroll. And to brand sure the navbar stays on top of all other content, add a high z-index value (e.g. 2147483647, which is the highest z-index value detected past almost browsers).

Must know: Set a value on at least one side of the sticky element to make certain the sticky position works.

Understand position sticky vs. fixed
Position fixed removes the element from the document menstruum, so the navbar will float on the unabridged page and overlap other elements. Nosotros don't desire this to happen when the navbar is still in its initial position. Nosotros only desire the navbar to stay fixed and floating above other elements when we're scrolling.
On the other hand, position gummy keeps the element in the document flow and just sets information technology to position fixed when the chemical element's initial position is scrolled away. So, the navbar stays exactly where yous've placed information technology without overlapping next elements. When you commencement to scroll past, it becomes fixed to the viewport.
Troubleshoot position sticky
Sometimes position sticky won't work even though you've set the position to mucilaginous and defined a altitude value for one of the sides of the element. That tin can happen for many reasons:
- Position viscid volition most probably not piece of work if overflow is gear up to hidden, scroll, or auto on any of the parents of the chemical element
- Position viscid may not work correctly if any parent element has a fix summit
- Many browsers however don't back up sticky positioning. Bank check out which browsers back up position:viscid.
Position pasty might non work if the position distance value is set up on a side that isn't affected by the scrolling. For case, if you set the distance on the left or correct, and you're scrolling through the page vertically, the element won't stick.
It also won't work if you've set up a distance to the bottom, for instance, instead of the pinnacle and your element is aligned to the top of the parent — it's either the first element in the parent or aligned to the top with flex or grid alignment settings.

Add a dropdown to the navbar
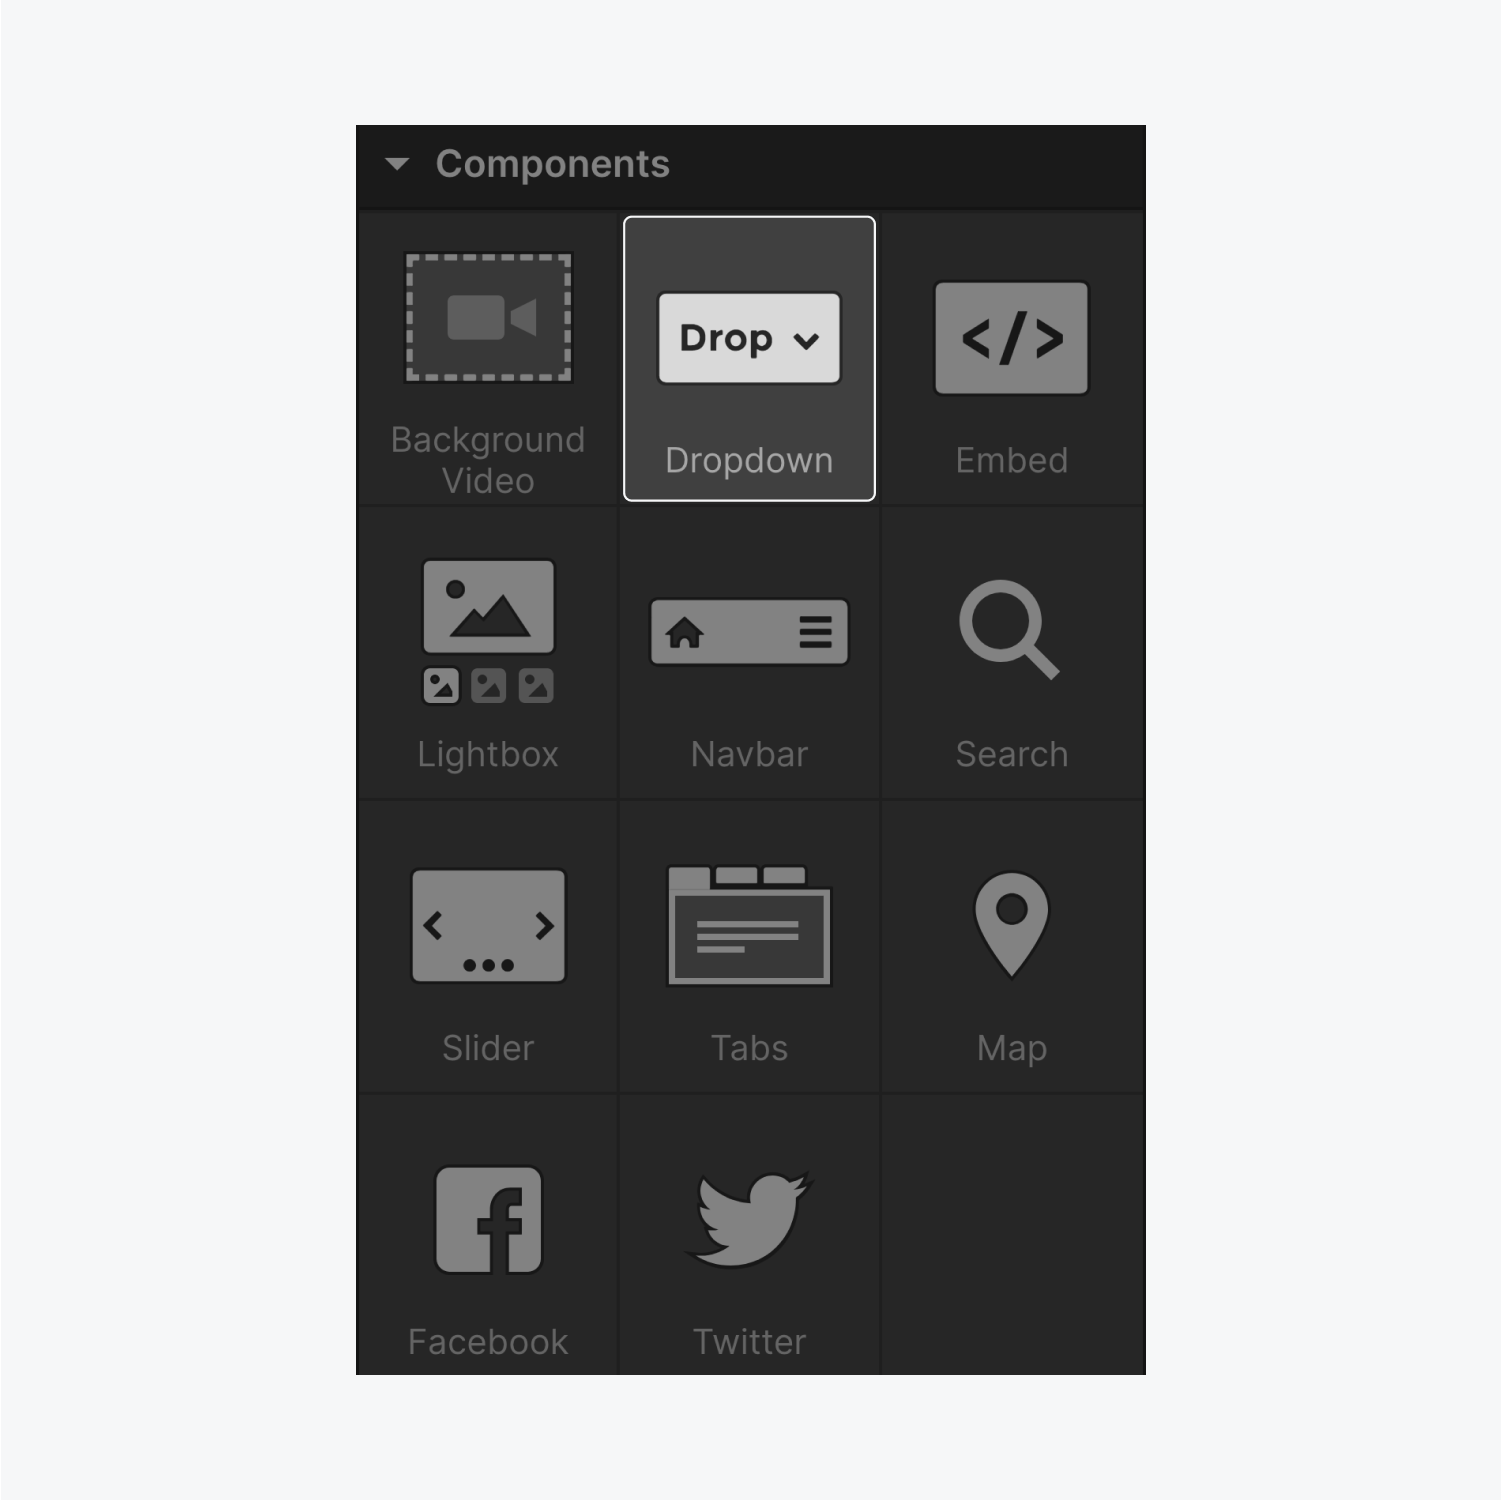
A dropdown menu is a pre-built navigation element that can be added to almost whatsoever area of a projection. Usually you'll meet a dropdown chemical element in the navbar of a website.
From the Add panel on the right, y'all can drag the dropdown element to the desired location in your project.
Dropdown settings
The dropdown list isn't visible until the Dropdown is clicked. Yous can make it visible by going to the Settings tab and enabling the Open carte du jour option.
Past default, the dropdown listing appears when a user clicks the dropdown toggle, just you can make information technology announced when the user hovers on the dropdown toggle by enabling the Open card on hover selection. The close delay time (the time it takes for the dropdown list to close afterwards hovering away) tin be adjusted in milliseconds.
And that'south creating a navbar with a dropdown carte. Nice work!
Source: https://university.webflow.com/lesson/navbar
Post a Comment for "Fabrik How to Upload a Logo to Your Navigation"